Luckily, you don’t need the help of a professional to do the job. You can partake inpainting wallsyourself. And make it a fun process, too! However, it can get messy and, at worst, dull. To avoid that, we have compiled the checklist of things you need and the best tips on how to paint walls.
Gather All Tools and Supplies
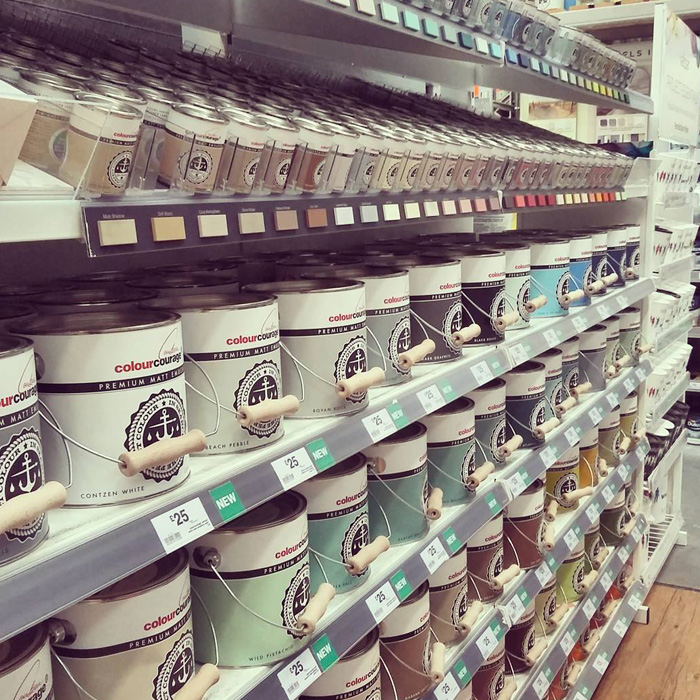
Image source:thecrazyspringerlady
If you want to learnhow to paint walls, get familiar with the tools and supplies needed. It’s not a finger painting you’re doing. You need special tools to reach the corners and cover the entire wall. So, to save you some time (and money), we created several checklists.
Let’s start with theessential tools and materialsyou will use to accomplish most of the work. Additionally, they will help avoid (or control) the mess in your workspace.
Other tools and resourcesmight come to use on special occasions. However, nobody will hit you over the head if you get them anyway. They might come in handy if you decide to repaint the wall in the future.
The whole painting process includes three distinct phases, each being as important as the previous:preparing, painting, and, the most exciting part,drying.
How to Prep Walls for Painting?
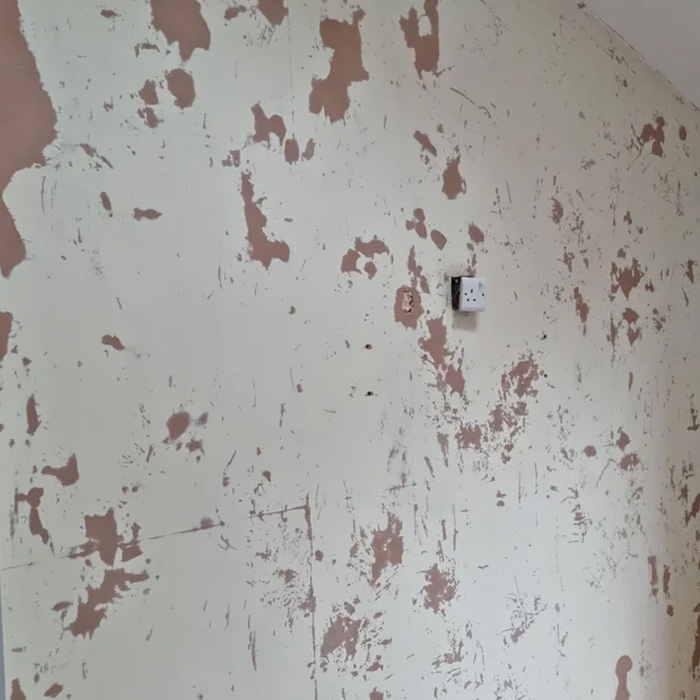
Image source:leerawsongill
Organize the Space
Image source:Taelynn Christopher
Organization is the key to a fun (and mess-free) painting process. Whenpainting interior walls,it’s best totake the furniture out of the room. However, if, let’s say, you can’t do that, you can always use a drop cloth to cover your furniture. On the floor, lay down some old rags you were planning to throw out anyway. Make sure there is some kind of ventilation.
Cover All Edges And Gaps

Image source:mikalataylormade
Deal With Imperfections
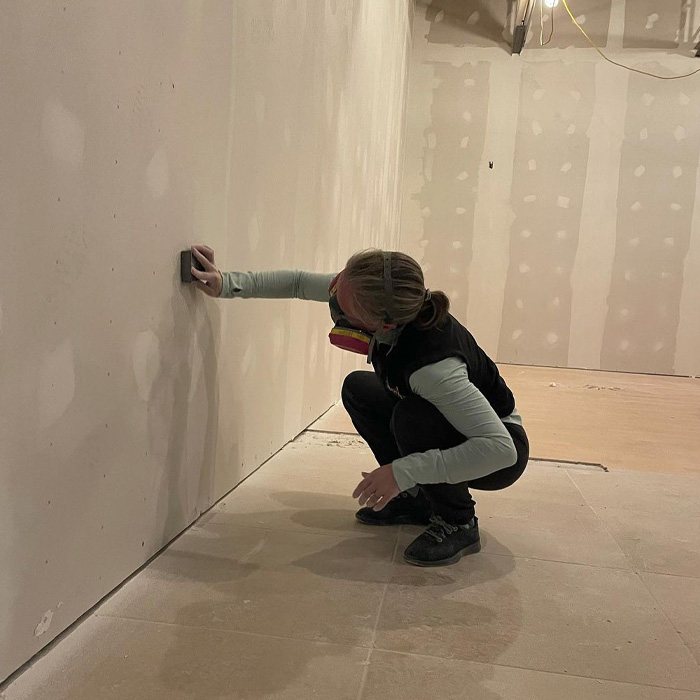
Image source:developpe_evolving_dance
Before you learnhow to clean walls before painting, you have to create some mess. The size of it will depend on the number of imperfections you already have on your wall. Inspect the whole section of the wall you’re going to paint and then fill it up with spackle. Once it’s dry, sand the wall to get rid of any bumps.
Time to Prime (Optional)
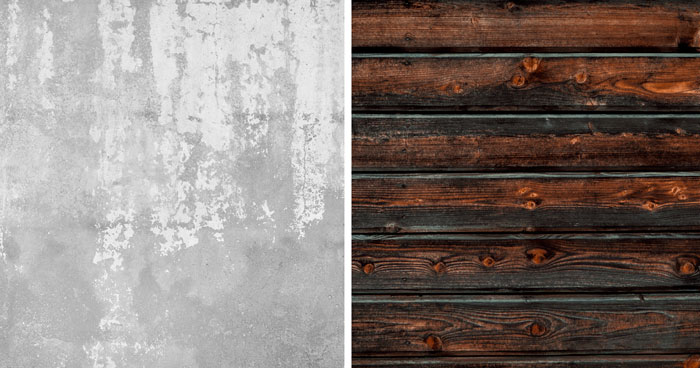
Image source:asierromero,wirestock
Be warned — not all walls need priming. So, it’s best to know the scenarios when priming a wall is just a suggestion and when it is a necessity.
Peeling paintis a sign of poor painting surface preparation. But before you repaint the peeling wall, prime it. Primer’s purpose, after all, is to make sure your paint sticks well to the wall. Sand away the old paint and apply primer for the best effect.
Concrete surfacetends to have pH levels higher than your usual drywall. Simple paint will peel off of it easily. There are masonry primers that will help your paint stick better. Although costly at first, you will save money in the end.
Painting overglossy surfacescan be tricky because there isn’t much grip for the paint to stick to.Primer is an excellent way to deal with the problem and save some money in the process.
Primer creates an adhesive layer that allows paint to stick easily. Applying primer to the wall will give you practice before you do so with paint. Start with a paintbrush and apply primer around the corners and edges. Then, finish things up with a roller to fill up the rest of the space.
How to Paint Walls?
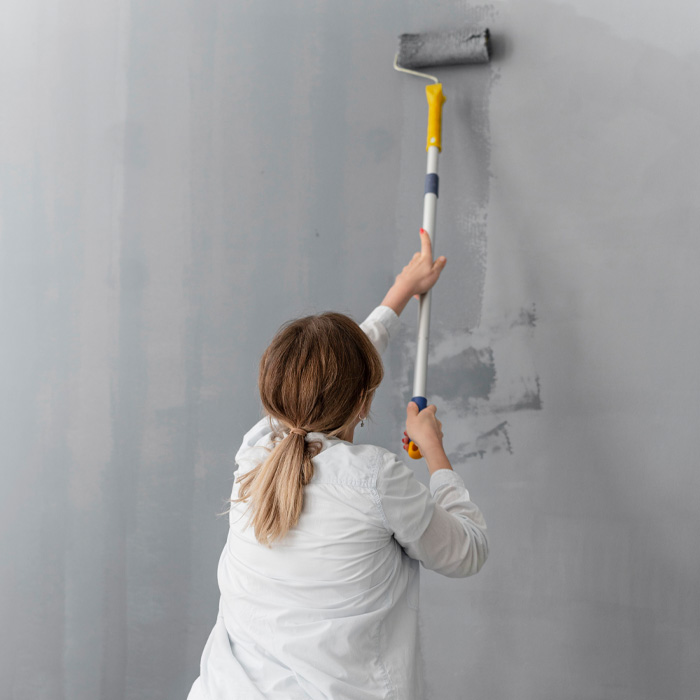
Image source:freepick
Now comes the painting part — the essential element of many painting guides. To achieve a perfect paint job, follow these easy steps.
Set Up Ventilation
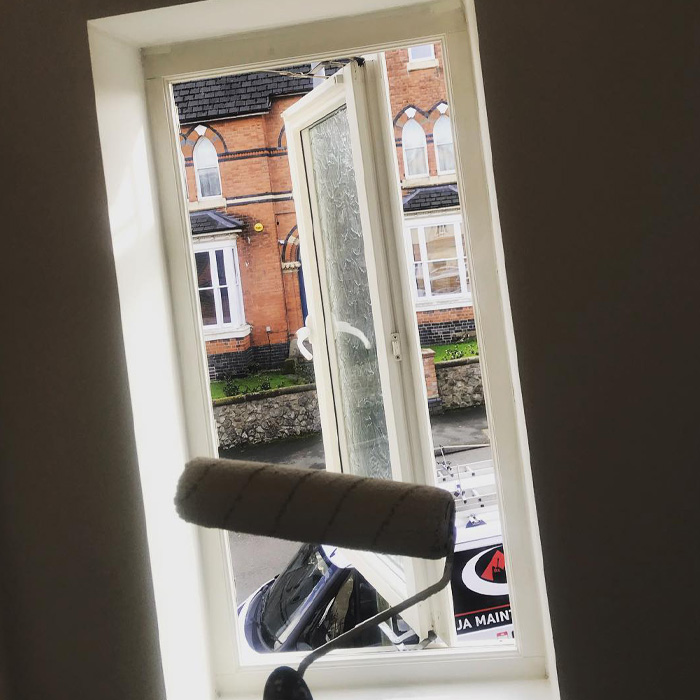
Image source:jamaintenanceltd
Before you decant your paint and stir it up, open up the windows. Make sure air circulates in and out and that it doesn’t stay in the room for too long.
Stir And Decant Your Paint
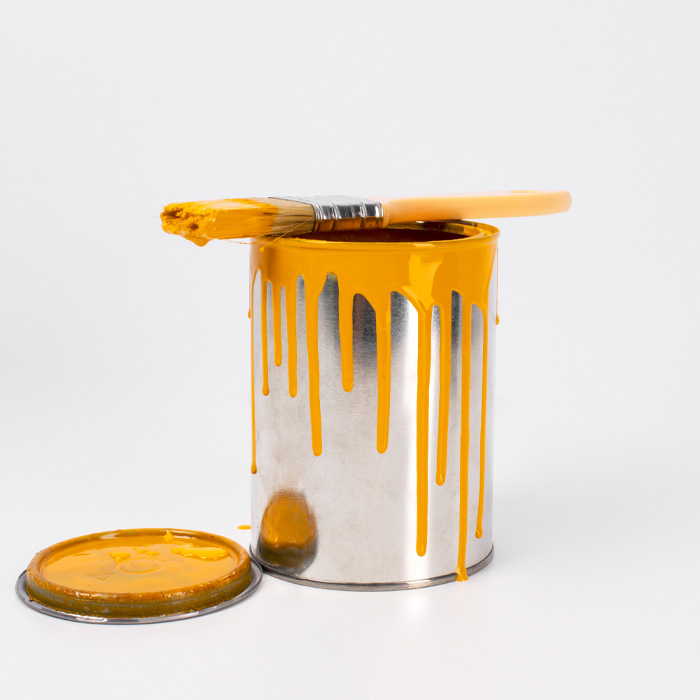
Image source:freepik
Patience! You’re just a step away from letting your creative skills shine. But first, decant your paint (keep the lid around) and stir the paint inside. Opening a paint can is as easy as mixing the content inside. Use a metal rod or even a paintbrush. When the consistency seems thick enough, pour your paint into a tray.
Start From Corners
Image source:Racool_studio
To “cut in” means to start painting the more difficult-to-reach areas first. Corners, edges, and tight spaces. If a roller hinders precision, better start with a paintbrush instead. Paint an inch or two and then move on to bigger areas.
With the combination of painter’s tape, you avoid the risk of smearing corners and edges and make everything look crisp and fancy. After painting, remove the tape to prevent the paint from bleeding beneath it.
Pick a Technique And Paint!
With the corners done, all that is left is the large unpainted area. Like painting a portrait on a canvas, you should have a technique and stick to it. However, you don’t really need a method if you usestencils for painting walls.
Commonly, people paint fromthe bottom to the top. Using this technique, you cover your roller and move it up and down the wall. By doing this, you cover every inch of the wall with paint. However, it might look uneven when the paint dries.
The“W” techniquecomes to the rescue in this case. It’s one of the best painting tips you might get. The main idea of it is relatively simple. To use the “W” technique, follow these steps:
Step 1. Load up paint on your roller.
Step 2. At arm’s length, paint a “W” on your wall.
Step 3. Fill in the space around the “W.”
Step 4. Fill in the leftover space in the “W.”
Step 5. Reload the roller with paint and continue painting.
When you truly master it, you’ll save time and money. Depending on the other tools at your disposal and the design of the wall, you should change and adapt your technique when needed. So, don’t always stick to the two methods listed here. Apply your paint evenly, depending on the situation.
The Fun Part — Watching Paint Dry

Image source:peteroc29
Do you know the saying “like watching paint dry?” Well, it earned its meaning for a reason. The paint dries slowly, boringly. Instead of watching it dry completely, you can use the time to do some productive tasks.
Putting Away the Paint
The paint can is there for a reason. Usually, whenpainting walls, people stick to a single color. So, if you have any leftover paint in the tray, pour it back into the can. To avoid further mess:
Use a paintbrush to guide the content cleanly into the can.
Pop the lid back on the can and keep the paint in a shaded place.
When you need it again, pop the top off, and there you have it! Keep your paint as fresh as the day you bought it.
Clean Off the Paint

Image source:Sven Brandsma
Leaving paint on tools can become a headache later on. Leftover paint on a roller will solidify and won’t come off so quickly. Thus, since you have the time already, rinse out the roller in warm, soapy water and massage out the paint. When the roller seems clean enough (when the water is clear), leave it to dry. The exact same process goes for the paint brushes. Paint will come out easier from other tools like trays and spackles.
Ready for the Big Reveal?
If you don’t need a second coat of paint, you should prepare for the big reveal. Hopefully, this guide will help your newly painted walls to pop into the eyes of guests (and yours). However, you shouldn’t rely entirely on paint to make the room pop. Sometimes, mixingestablished room styleswith a new coat of paint can create a unique and fantastic design!
FAQ
Can I Just Paint Over Old Paint?
Simply said — yes. You can put another coat of paint over an old one. However, the surface has to be clean and smooth, and the new paint has to be of the same material. If the paint is oil-based, get the same for a fresh coat.
How Many Coats of Paint on the Wall?
Rule of thumb: it’s best to have two coats of paint on a surface. It makes the color pop and the design seamless. If you want to learnhow to clean walls without removing paint, just make sure not to sand away the old coat.
Why Won’t Paint Stick to the Wall?
If the wall doesn’t need a primer to be applied, you should consider the surface and level of contamination. Surface-wise, if you arepainting textured walls, the paint might not stick. Also, if the wall is covered in dirt and grease, the paint will have difficulty sticking.
11Kviews11Kviews
You May Like30 ‘Nightmares’ And ‘Miracles’ Spotted During Structural Inspections (New Pics)Evelina ŠiukšterytėGrowing Tomatoes 101: A Beginner’s GuideDamanjeet SethiHow To Grow Watermelon In Your Garden (or Balcony)Melanie Gervasoni
Evelina Šiukšterytė
Damanjeet Sethi
Melanie Gervasoni
![]()
![]()
Home & Design
