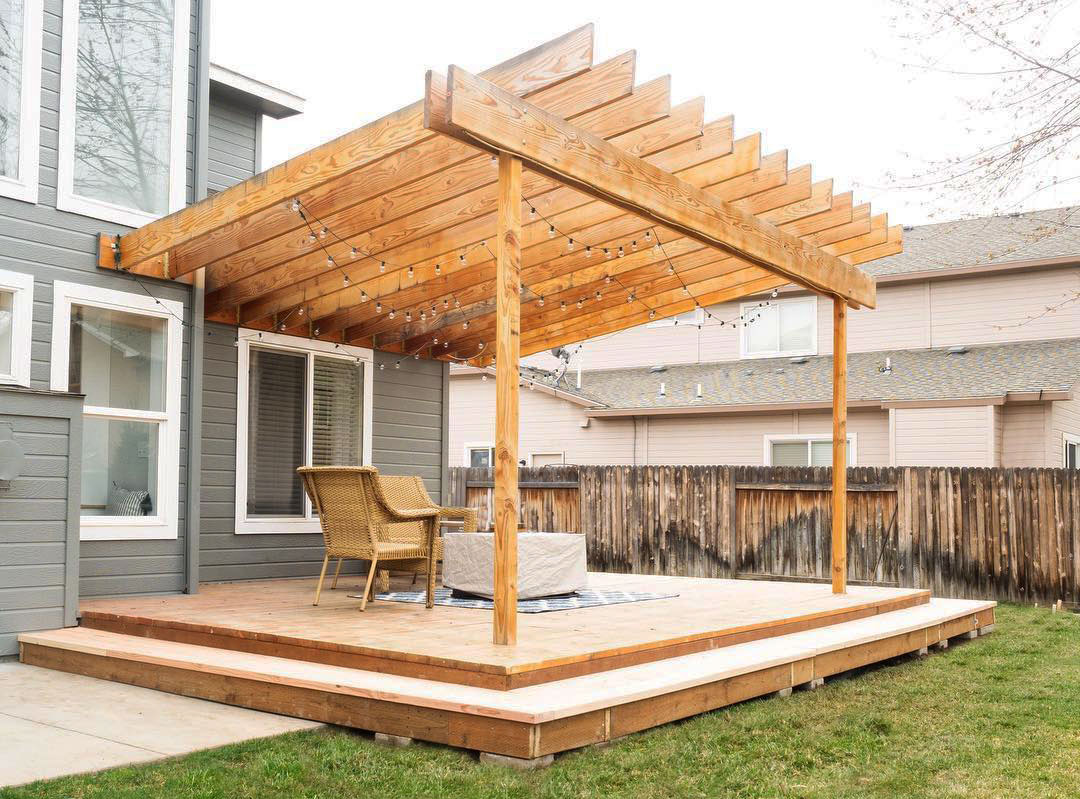
Many homeowners build their decks attached to the house. But in reality, they don’t have to be. The perfect spot for setting up a barbecue stand or a lounge chair for sunbathing may be in the farthest corner of your backyard, and there’s no reason why you should give it up. This is where afloating deckis going to help you out.
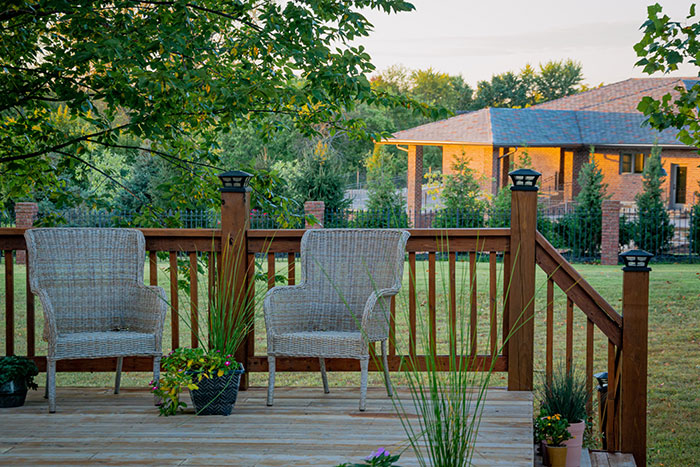
As the name suggests, a floating or a freestanding deck is a ground-level deck that isn’t attached to any structure. It performs all the functions of a deck but comes with several additional perks.
Since it’s not attached to the house, you can save yourself some energy-consuming labor and finish the project earlier. If you keep yourfloating deckat a certain height off the ground, you don’t even need a construction permit (more on that later).
If you have recently been studying somefloating deck plansfor your backyard but would still like to have some easy-to-follow instructions and tips, we have you covered! Keep reading to find outhow to build a floating deckDIY-style.
What You’ll Need WhenBuilding a Floating Deck
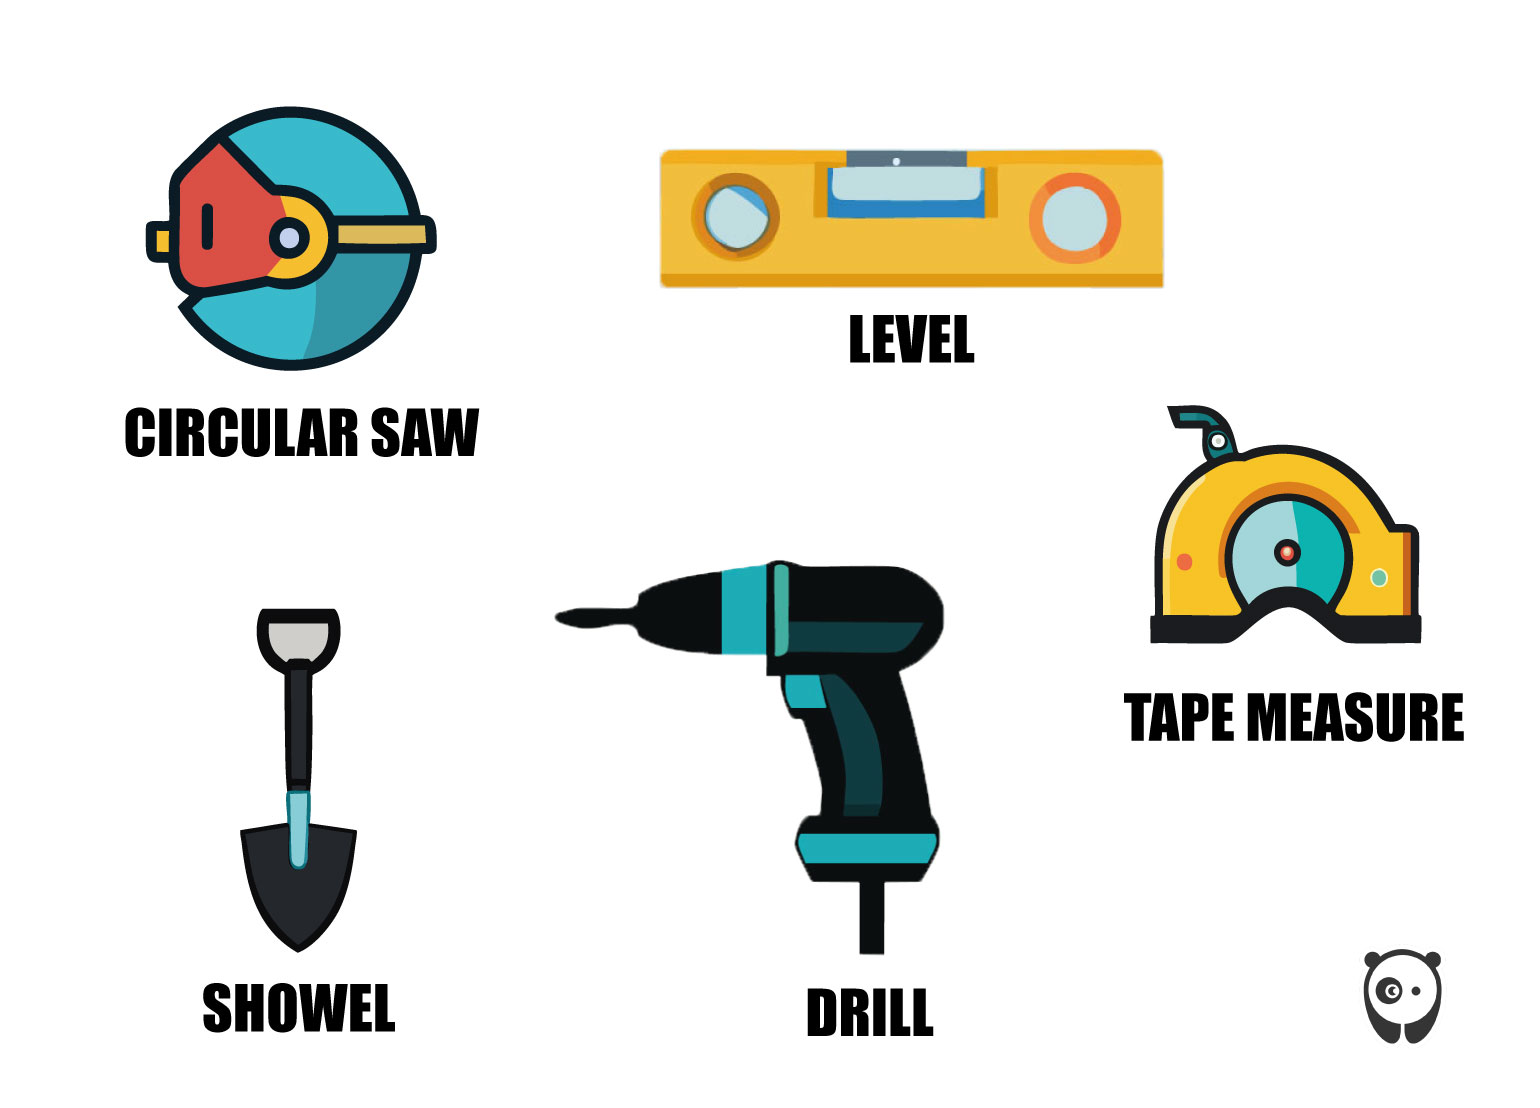
Equipment
Materials
Note that numbers and measurements will vary depending on the size of yourfloating deck. However, for a smallfloating deck(120×144 inches), you will need the following materials:
Step 1: Prep the Area

Clear the designated area of stones, grass, and other objects. Make sure the ground is flat. You may want to use a rake to level it out. Pack the ground with a tamp tool. If you don’t have one, you can do it with your feet. Cover the ground under the deck with landscape fabric and put a layer of gravel on top of it. The latter step is optional, but it prevents new vegetation from growing under the deck, so it’s worth adding to the process.
Step 2: Set the Blocks
Image credits:Chip Davis Project Channel
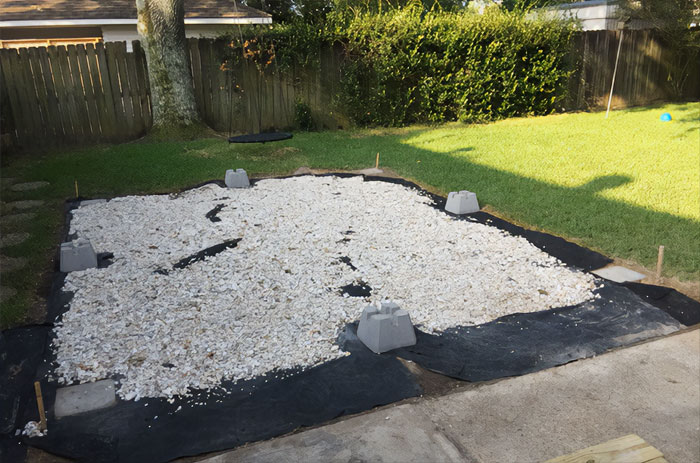
To give yourfloating decka solid foundation and elevate it from the ground, set the concrete blocks. Put one on each corner of the rectangle area, making sure the distance between the blocks on both long sides as well as both short sides is the same. Keep in mind that the distance is measured from the center of each block.
Put another block on each of the long and short sides of the rectangular. Check that they are evenly distanced from the corner blocks. You may also place one or more blocks in the center to give yourfloating decka little more security. Use a level to make sure all your blocks are equally leveled. Put more or remove some gravel where necessary to level out their position.
Step 3: Construct the Outer Frame
Image credits:DIY Creators
Find a clear, flat area in your backyard or garage to construct the outer frame. For your standard joists, cut 10 2×8 10-foot boards with a circular saw to 117 inches. For your end joists, take 2 2×8 12-feet boards. Make sure they are precisely 144 inches; otherwise, trim them as necessary.
Take two standard joists and place the end joists over their ends. Now, you have a 120×144-inch rectangle frame. Drill pilot holes first. Join all the pieces of the frame together with three 3 1/2-inch screws in the corners.
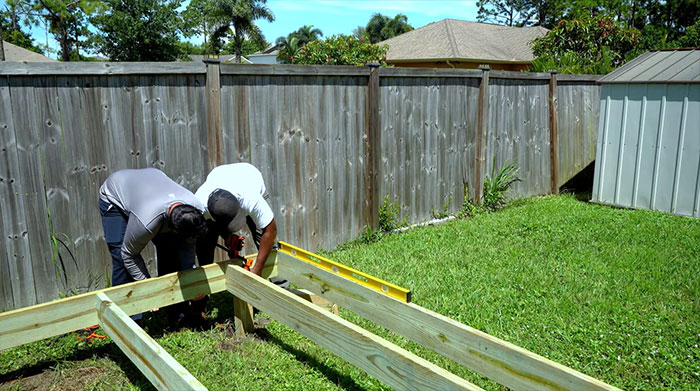
Step 4: Position the Frame
Image credits:Bonez916
Return your frame to its designated deck area and place it over the concrete blocks. Make sure the frame sides fall on the centers of the blocks for maximum balance. Measure the frame diagonally. If necessary, push the frame from opposing corners diagonally until the diagonal measurements are equal. This step requires two people, so enlist a family member or a friend to help you. Now your frame is square.
Step 5: Check the Blocks
Check once again that the frame is level. There should be no gap between the frame and the concrete blocks where they touch. You can add or remove gravel or soil under the blocks as necessary.
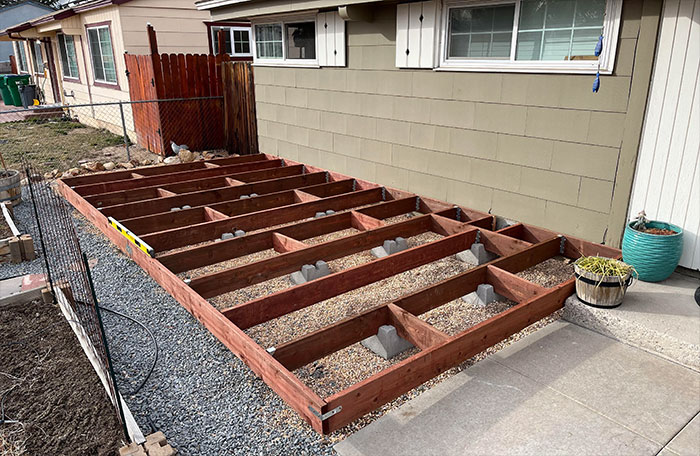
Step 6: Install the Rest of the Joists
Image credits:Lowe’s Home Improvement

Take the remaining standard joists and attach them to the end joists following the instructions from Step 3. You want the deck boards to lie flat, so make sure the standard joists are flush with the end joists.
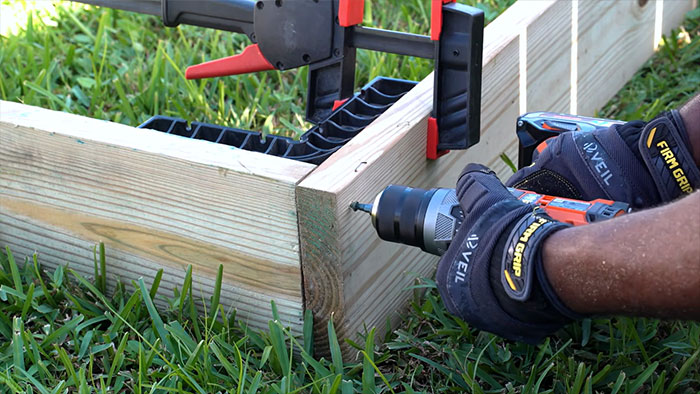
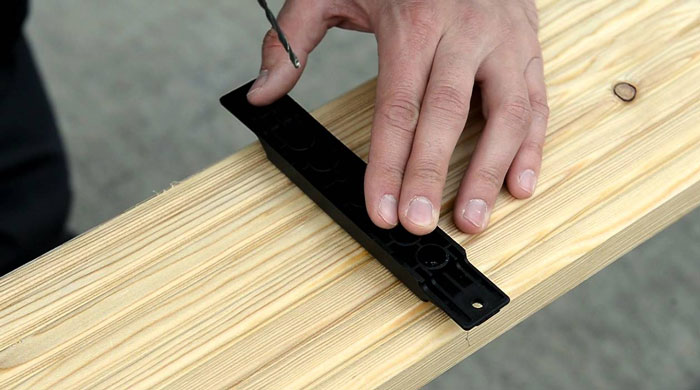
Step 7: Install the Boards
Check that all decking boards are exactly 144 inches and trim if necessary. Keeping it flush with the outer side of the end joist, place one decking board along the long side of the frame. Drill two pilot holes, one into the standard and one into the end joist. They should be aligned with the decking board. Use 2-inch or 2 1/2-inch screws (depending on the thickness of your lumber) to attach the decking board to the frame.
For the next decking board, both screws will go into the standard joist. Continue the process until you’ve installed all decking boards. Leave a space of about one-eighth of an inch between each two boards.
Step 8: Use Hidden Fasteners
Image credits:DD GROUP Innovative Products
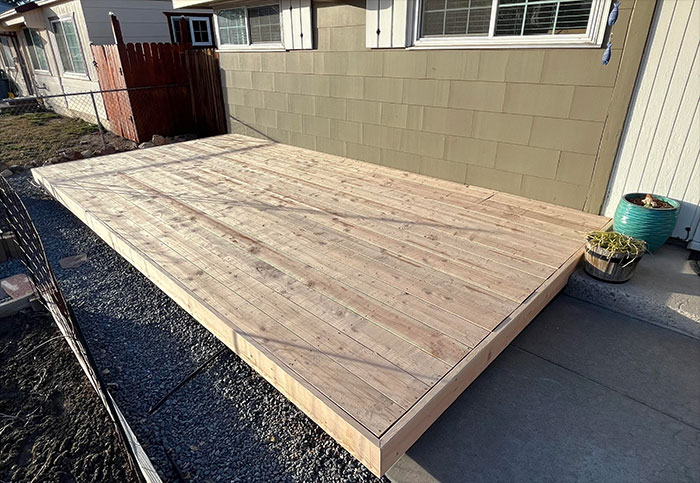
(Optional) Step 9: Attach Skirt Boards
Image credits:Fix It With Zim
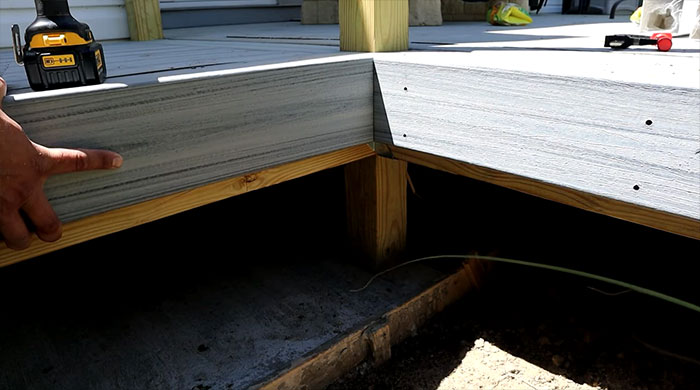
This step is optional. It gives yourfloating decka more professional, finished look. Attach skirt boards on all four sides, with the screws located just below the surface.
Things to Consider WhenBuilding a Floating Deck
Image credits:Electronic_Lemon_833
Permits and Regulations
Most floating decks don’t require a construction permit, but to be on the safe side, it is always better to check with the local authorities. A few things that may require a permit include:
Location and Drainage
Make sure to thoroughly flatten out and tamp the soil under the deck to avoid standing water underneath. When choosing the location for yourfloating deck, consider the local property regulations, privacy, and exposure to rain and wind.
Foundation
While concrete blocks will provide a secure foundation for your deck, a concrete slab can be an alternative option to set your deck on. It will be even more long-lasting; however, it does require some concrete-pouring skills.
Image credits:Greyson Joralemon

Pressure-treated lumber is the most durable option that is also easy on your wallet. Southern yellow pine can become an affordable upgrade, as it is more visually appealing than the treated lumber. Cedar and redwood may have a beautiful appearance; however, they are more susceptible to decay. Another acceptable option is composite decking, made of recycled plastic and wood pulp.
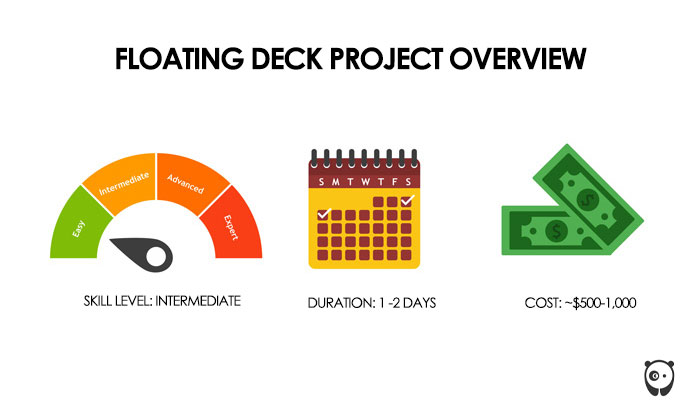
Cost Estimation
Prices will vary based on the size of your deck and the materials you choose. If you already have the necessary tools, this will also significantly decrease the total cost. On average, the price will range between $500 and $1,000.
Image credits:No-Material-23
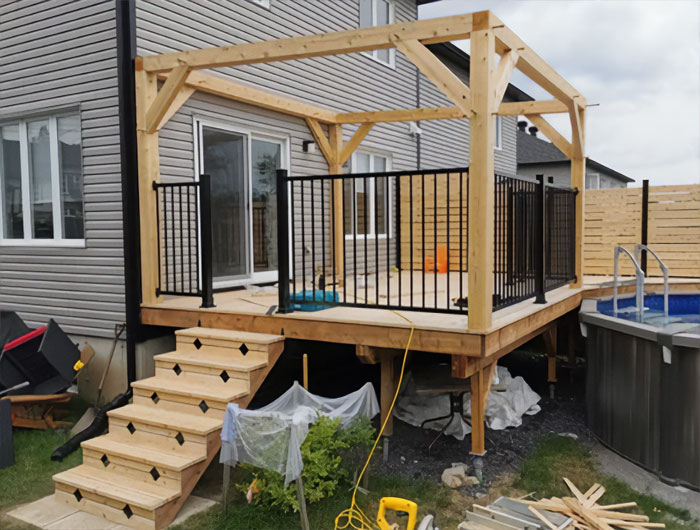
Safety Measures
Afloating deckdoesn’t requirerailingsif it is 30 inches or less above the ground. However, you may still want to consider installing them, especially if you have younger children. Also, double-check the position of your deck frame on the concrete blocks to ensure it is well-balanced.
Finishing Touches
Afloating deckdoesn’t require applying a finish; however, experts recommend going through with this step. A protective deck stain or another sealer will prevent your deck from splintering, losing color, or decaying due to exposure to the elements.
MoreFloating DeckTips to Keep in Mind
Image credits:mr.build_it
Tip 1: Use Framing Connectors
You can use framing connectors for extra security. In that case, you will need 90-degree connectors for the corners and joist hangers to attach standard and end joists together.
Tip 2: Use Corner Blocking for Added Support
Add corner blocking between the last two joists at every corner. This may add time to the project but will strengthen the frame’s connections.
Tip 3: Plan Stair Placement
You can build stairs (or a ramp) to give your deck a complete look and make climbing up and down the deck safer. There is a little more math involved with planning the stairs, but the result is absolutely worth it.
Tip 4: Ask for Help
Except for the squaring out of the frame, where you need a helper, it is possible to complete thefloating deckproject on your own. However, we would still recommend having another person with you at the construction. It is a good safety measure, and you will be able to finish the project faster.
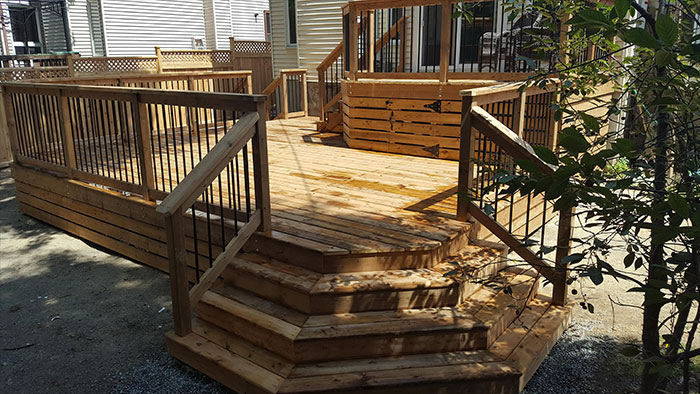
Are Floating Decks a Good Idea?
Image credits:buildtuff
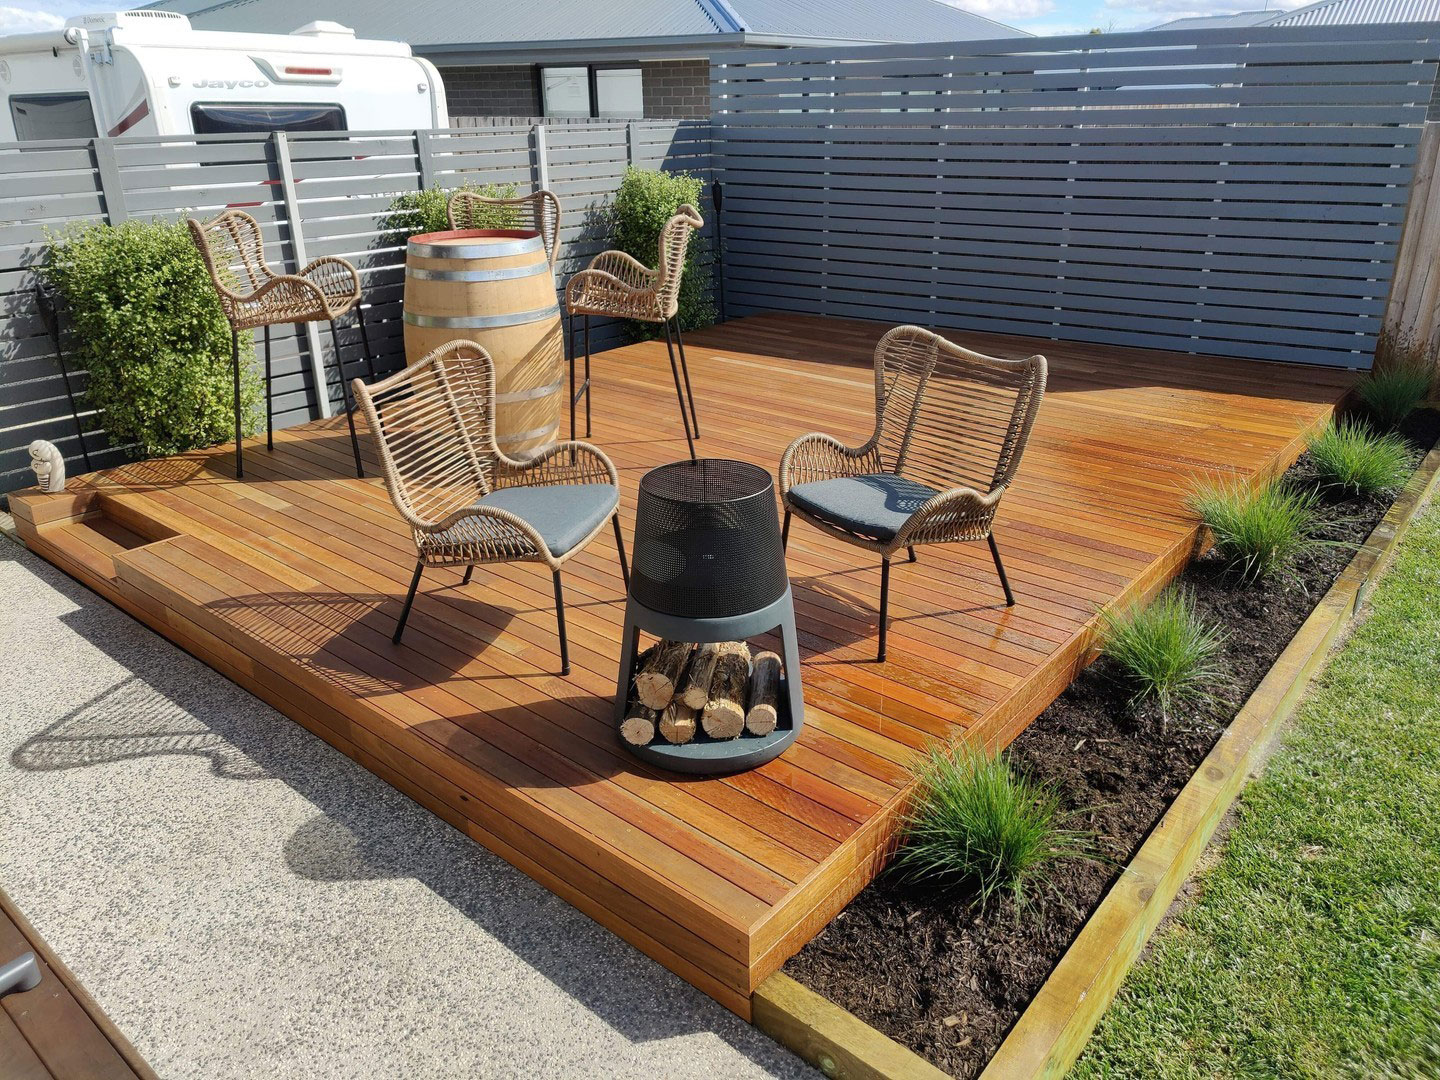
Floating decks are cheaper than a traditional deck attached to the house. Moreover, they require less material and less labor. Also, since you don’t need to install ground concrete piers for afloating deck, you don’t run the risk of damaging any underground utility lines.
As we mentioned, if you adhere to the local regulations regarding the size and position of yourfloating deck, you won’t need to obtain a permit. We all can appreciate less paperwork. And since afloating deckisn’t attached to any other structure on your property, you can easily relocate it if you happen to move to a different house. So you only have to build it once!
All in all, afloating deckmakes for a nice home improvement that isn’t very expensive or difficult to complete. If you feel like this is one detail that keepsyour backyardfrom becoming truly perfect, it’s time to turn yourfloating deck ideasinto a floating deck-building project!
4Kviews4Kviews
![]()
![]()
DIY
